
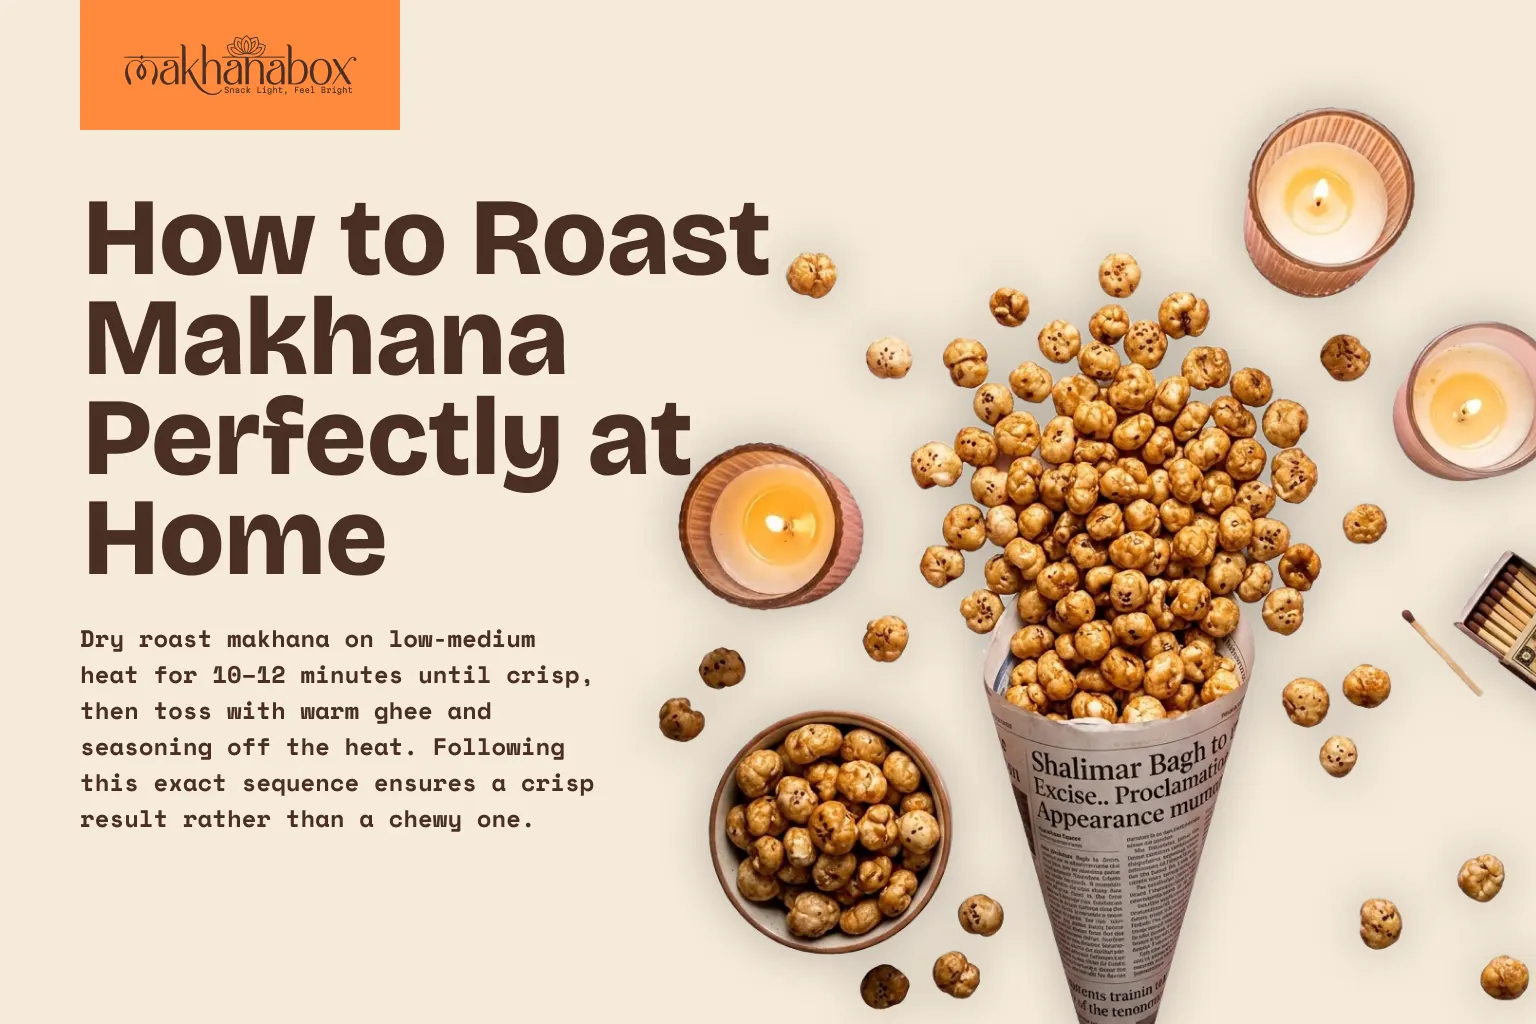
Roast raw makhana dry, on low-medium heat, stirring constantly for 10-12 minutes until it's crisp and lightly golden — then, and only then, toss it with warm ghee or oil and your seasoning off the heat. That order matters more than almost anything else in getting a genuinely crisp result instead of a chewy one. Here's the full method, plus the specific mistakes that ruin a batch.
Start with the right raw makhana
You want raw, unroasted makhana for this — not the ready-to-eat roasted kind, which is already finished. Grade doesn't hugely change the roasting method, but larger grades (like 6+ Suta) puff up more dramatically and look more impressive for snacking, while smaller grades (like 3 Suta) roast a little faster since there's less seed to heat through. Either works — see our full raw makhana range if you're choosing.
The pan method
Heat a heavy-bottomed pan (cast iron or a thick-based kadai works well) on low-medium heat — no oil yet. Add the raw makhana in a single layer; don't overcrowd the pan, since seeds that are stacked on top of each other roast unevenly. Stir or toss constantly, every 15-20 seconds, for about 10-12 minutes. You're looking for the seeds to turn a shade lighter, feel noticeably lighter when you stir them, and start smelling toasted rather than raw. Constant movement is what prevents scorching on one side while the rest stays underdone.
The oven method
Spread raw makhana in a single layer on a baking tray — again, no oil at this stage. Roast at a low temperature, around 150°C (300°F), for 12-15 minutes, tossing the tray halfway through so it heats evenly. The oven method is more forgiving than a pan if you're roasting a larger batch at once, since you're not standing over it stirring the whole time, but it's slightly slower to judge by smell since the oven traps it.
Seasoning: after roasting, not before
Once the makhana is crisp and smells toasted, take it off the heat immediately — it keeps cooking a little from residual heat even after you remove it. While it's still warm, toss it with a small amount of warm ghee or oil (a teaspoon or two per 100g goes a long way) and whatever seasoning you're using — salt, chilli powder, chaat masala, or a sweet coating like jaggery. The warmth of the makhana is what helps the coating actually stick rather than sitting loose at the bottom of the bowl. Adding oil and seasoning before roasting is the single most common mistake: it causes uneven browning and can burn spices before the seed itself is properly roasted through.
How to tell it's actually done
Rely on smell and bite more than the clock, since stove strength and batch size both shift the timing. Done makhana smells nutty and toasted, not raw or bitter, and gives a genuine crisp snap when you bite into it rather than a soft or slightly rubbery give. If you're unsure, pull one piece, let it cool for 30 seconds (hot makhana can feel softer than it actually is), and taste it before judging the whole batch.
Common mistakes that ruin a batch
Heat too high: the outside browns before the inside dries through, giving a burnt-tasting shell over a chewy centre. Not stirring enough: uneven roasting, with some pieces burnt and others still soft. Oiling before roasting: covered above — it's the most common single mistake. Storing before it's fully cooled: packing warm makhana into an airtight container traps steam, which softens the crunch you just worked for — let it cool completely on a tray first. For keeping it crisp afterwards, see why makhana goes soft, and the two-minute fix.
How this compares to how we roast commercially
The home method above is a simplified version of the same basic principle we use at batch scale — heat, not oil, is what pops and crisps the seed, and seasoning goes on afterward, not during. The commercial version involves more controlled temperature and timing across a larger batch, which we walk through in how makhana is roasted: from black seed to white puff. If you'd rather skip the process and go straight to eating, that's what our six ready-roasted flavours are for.
Frequently asked questions
How long does it take to roast makhana at home? About 10-12 minutes in a pan on low-medium heat, stirring constantly, or 12-15 minutes in an oven at a low temperature (roughly 150°C/300°F), tossing halfway through. Times vary with grade size and how much you're roasting in one batch — smaller batches roast more evenly.
Should I add oil or ghee before or after roasting? After, for the most even result. Roast the raw seed dry first until it's crisp, then remove from heat and toss with a small amount of warm ghee or oil plus seasoning while it's still hot enough for the coating to stick. Adding oil at the start makes the seeds prone to burning unevenly before the inside is properly dried out.
Why did my roasted makhana come out chewy instead of crisp? Almost always one of two things: the heat was too high, so the outside cooked before the inside dried through, or it was pulled off the heat too early. Low, steady heat with constant stirring gives a more even result than a hot pan and a rushed few minutes.
Can I roast makhana in a microwave or air fryer? Yes, though a pan or oven gives more even, controllable results for most people starting out. In an air fryer, a low temperature (around 150°C) for 6-8 minutes, shaking the basket halfway, works reasonably well. Microwaving tends to roast unevenly and is harder to judge by sound or smell, which are the two best cues for doneness.
How do I know when roasted makhana is actually done? Listen and smell more than watch the clock. It should smell lightly toasted and nutty, not raw or bitter, and a piece should snap crisply when you bite it, not give a soft or rubbery bite. If in doubt, pull one piece out, let it cool for 30 seconds, and taste-test before deciding the whole batch is ready.
About Makhana Box
If you'd rather start from raw and roast it your own way, our raw makhana grades are exactly for this. Prefer it already done? Our six roasted flavours are dry-roasted fresh to order. Reach us anytime:
- Phone: +91 91559 97784
- Email: sales@makhanabox.com
This article is general cooking guidance, not a food-safety certification. Always use appropriate care around hot pans and ovens.